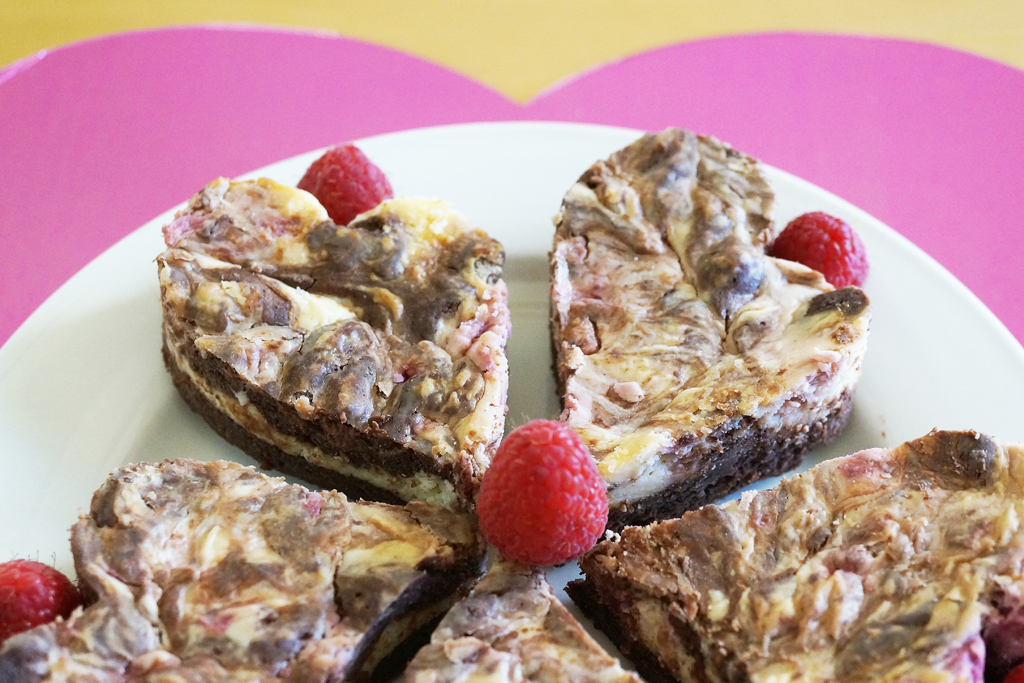
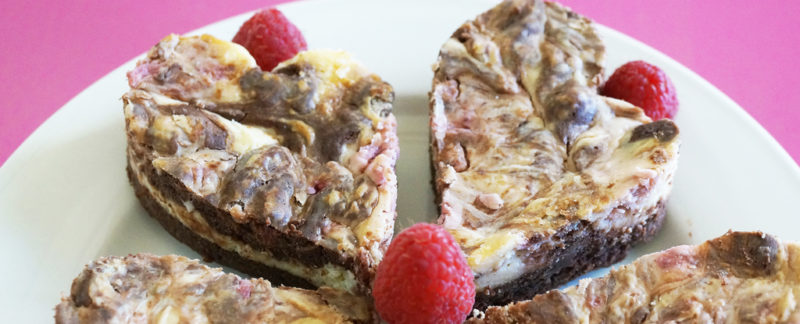
Raspberry Cheesecake Brownies

Raspberry Cheesecake Brownies
 
Author: 
Nutrition Information
  • Serves: 12
  • Serving size: 1
  • Calories: 304
  • Fat: 25.2g
  • Carbohydrates: 21.2g
  • Fiber: 18.3g
  • Protein: 5.8g
Ingredients
Cream Cheese Batter
  • 12 oz cream cheese, softened
  • 3 tbsp erythritol
  • 2 tbsp xylitol
  • Pinch pure powdered stevia
  • 1 large egg
  • 1 ½ tsp vanilla
  • ¾ tsp almond extract
  • 1 cup raspberries

Chocolate Batter
  • 8 oz sugar-free chocolate, chopped
  • ½ cup unsalted butter
  • 1 tsp vanilla
  • Pinch of salt
  • 3 large eggs
  • 2 tbsp xylitol
  • 1 pinch pure stevia
  • 1 tsp unsweetened cocoa powder for dusting
Instructions
  1. Preheat oven to 300°F. Grease a 9x9-inch square pan and cover the bottom and sides with a single piece of aluminum foil. Spray with oil and set aside.
  2. In a small bowl, with an electric mixer and paddle attachment, blend together the softened cream cheese, erythritol, xylitol, and stevia smooth. Add egg, vanilla and almond extract until fully incorporated. Place ⅓ of the cream cheese mixture into another bowl and add the raspberries, blending until combined. Set both bowls aside.
  3. Melt the chocolate and butter in a microwave safe bowl for 30 second intervals, stirring in between until melted, do not overheat. Blend butter and chocolate until butter is fully incorporated, add vanilla and salt; blend then set aside.
  4. In a medium bowl, with an electric mixer and whip attachment, whip the eggs, xylitol and stevia until pale yellow and thick; about 3 minutes. Add the melted chocolate mixture and blend 30 seconds until fully incorporated into a thick brownie batter.
  5. Pour two thirds of the brownie batter into the pan, smoothing it out to cover the bottom of the pan in an even layer. Take spoonfuls of each cream cheese mixture and alternate them over the layer of brownie batter in the pan with spoonfuls of the remaining brownie batter. Use a knife to gently swirl the batters together then rap the pan on the counter to remove any air bubbles and settle the batter.
  6. Bake for 45 minutes or until set in the center. Cool on a rack in the pan for at least 1 hour up to 1 ½ hours. Once cooled, carefully removed the sides, invert onto a plate, dust the bottom with 1 tsp of cocoa powder to prevent sticking and invert again onto a serving plate. Enjoy immediately or place in the refrigerator for up to 4 days tightly wrapped – bring to room temperature before serving. It may also be frozen, tightly wrapped, for up to 1 month. Bring to room temperature before serving. Cut into twelve 1 ½ x 1 ½ inch brownies.
Notes
Net Carbs: 2.8g
SugarOH: 16.3g
 

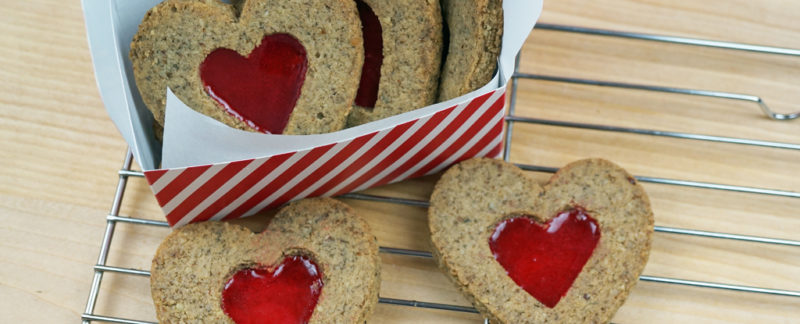
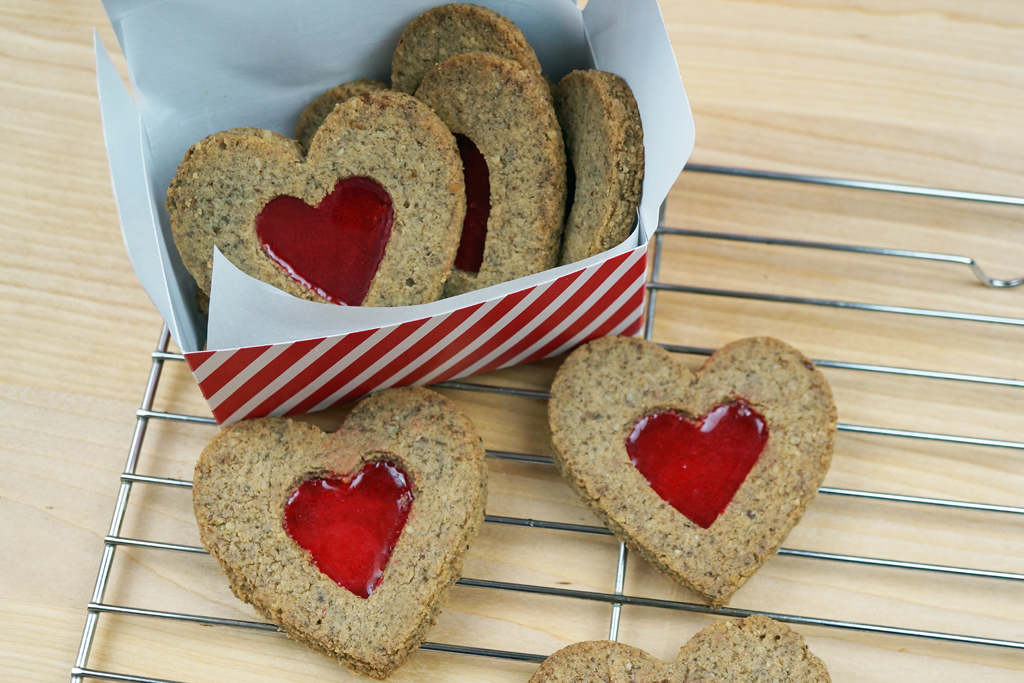
Sugar-Free Love Cookies

A fun take on Sugar-Free Window Cookies for Valentine’s Day!

A video version of this recipe can be found here.

Sugar-Free Love Cookies
 
Author: 
Nutrition Information
  • Serves: 44
  • Serving size: 1
  • Calories: 109
  • Fat: 8.6g
  • Carbohydrates: 6g
  • Fiber: 5.1g
  • Protein: 1.8g
Ingredients
  • ¼ cup unsalted butter
  • ¼ cup palm shortening
  • ⅓ cup erythritol
  • 2 Tbsp xylitol
  • 1 pinch pure powdered stevia
  • 1 egg
  • 1 tsp vanilla
  • 1 tsp lemon zest
  • 2 cups almond flour
  • 1 cup pecan or walnut flour
  • 2 Tbsp coconut flour
  • ¼ tsp baking soda
  • ¼ tsp salt
  • 1 ½ tsp cinnamon
  • ¾ tsp ginger
  • ½ tsp instant coffee
  • ⅓ tsp nutmeg
  • 15 red or pink colored sugar-free hard candies
Instructions
  1. In a stand mixer, cream together the butter, shortening, erythritol, xylitol, and stevia until light and fluffy; about 2 minutes.
  2. Add the egg and blend until fully incorporated. Add the vanilla and lemon zest; blend to combine.
  3. To a small bowl add the almond flour, pecan flour, coconut flour, baking soda, salt, and spices; whisk to combine.
  4. Add the flour mixture to the creamed butter and eggs. Beat until incorporated; about 30 seconds.
  5. Wrap the dough in plastic wrap and refrigerate for 30 minutes. Roll out between parchment or wax paper to about ¼-inch thickness and use cookie cutters that are about 2-3 inches in diameter of your choice. Cut out the center with a smaller cookie cutter and add scraps to the dough to be rolled out or leave and bake as smaller cookies. While cookies are chilling, put the candies into a plastic bag and use a rolling pin to crush them. If using different colors/flavors of candy do each separately. You will need about ⅓ of a piece of candy to fill the cutouts of each cookie.
  6. Preheat oven to 350°F. Line a sheet pan with parchment paper or use a silicon mat. Place cutout cookies about 1 inch apart and bake for 5 minutes, remove from oven and add crushed candy to cutout centers, put back in the oven and cook another 5-8 minutes until the candy has melted and the cookies are just beginning to brown on the edges. When done allow them to sit on the cookie sheet for 5-10 minutes to allow the candy to harden then transfer to a wire rack to cool completely. Store in an airtight container in the refrigerator. Makes about forty-four 2-inch cookies. 1 cookie is one serving.
Notes
Net Carbs : 0.9g
SugarOH: 3.9g
 

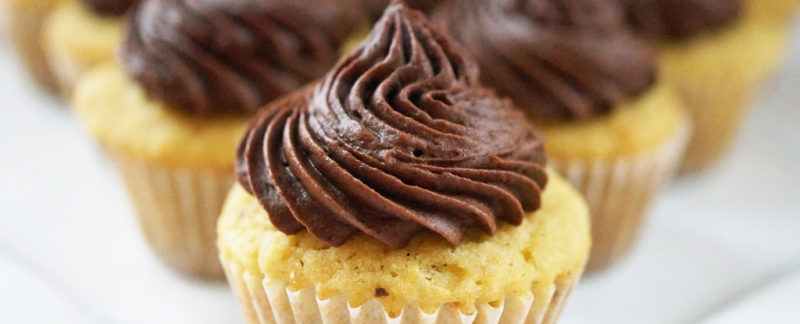
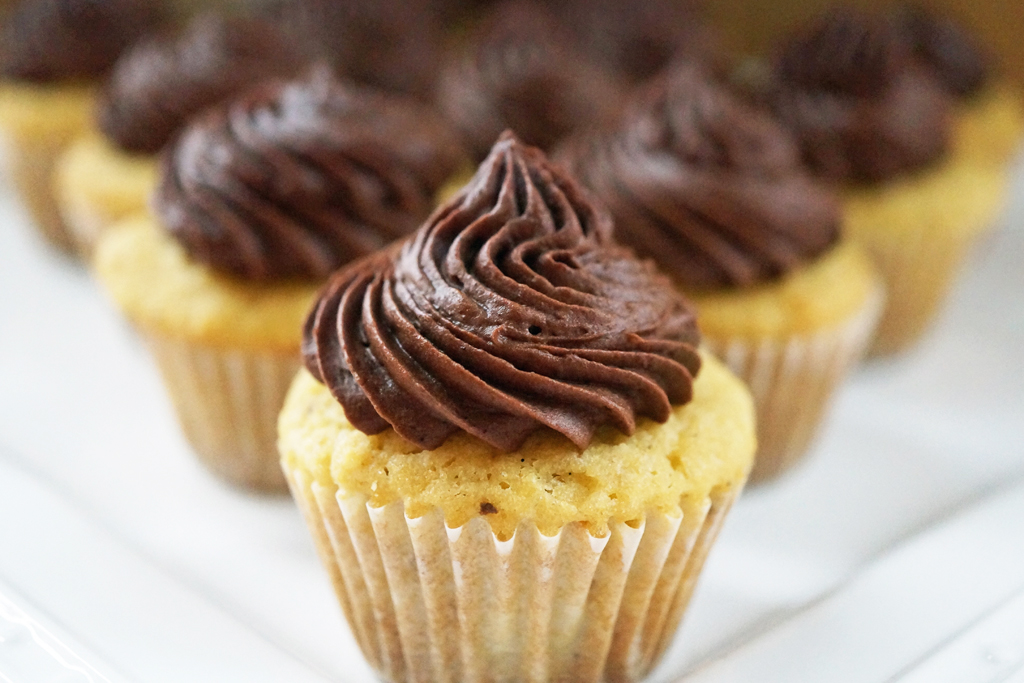
Mini Vanilla Bean and Chocolate Filled Cupcakes

Mini Vanilla Bean and Chocolate Filled Cupcakes
 
Author: 
Nutrition Information
  • Serves: 36
  • Serving size: 1
  • Calories: 106
  • Fat: 9.2g
  • Carbohydrates: 8.3g
  • Fiber: 7.5g
  • Protein: 1.6g
Ingredients
Cupcakes:
  • 6 tbsp unsalted butter, melted
  • 6 large eggs
  • 4 tbsp xylitol
  • 3 tbsp erythritol
  • Pinch pure powdered stevia
  • 2 tsp vanilla (or 1 vanilla bean, scraped)
  • 1 tsp lemon juice
  • ½ cup coconut flour
  • ½ tsp baking powder
  • ½ tsp baking soda
  • ½ tsp salt

Filling
  • ¼ cup unsalted butter, softened
  • ¼ cup palm shortening
  • 3 tbsp erythritol, powdered
  • 2 tbsp xylitol, powdered
  • 1 tbsp coconut milk
  • 1 tsp vanilla
  • Pinch of salt
  • 2-4 drops orange essential oil

Frosting:
  • 4 oz sugar-free chocolate, melted
  • ½ cup unsalted butter, softened
  • 2 tbsp erythritol, powdered
  • 1 tbsp xylitol, powdered
  • 3 tbsp unsweetened cocoa powder
  • ½ tsp cinnamon
  • 1 tsp vanilla
  • ⅛ tsp salt
Instructions
  1. Cupcakes: Preheat oven to 375°F. Line a muffin tin with thirty-six paper liners and spray with oil. Set aside. Alternatively, make 12 regular sized cupcakes.
  2. In a small bowl whisk together the butter, eggs, xylitol, erythritol, stevia, vanilla, and lemon juice.
  3. Combine the coconut flour with the baking powder, baking powder, baking soda and salt, mix thoroughly with a whisk and then add to the egg mixture, whisking until there are no lumps.
  4. Using a tablespoon measure, place one tablespoon batter into each muffin liner and repeat filling all 40 liners. Bake for 15 minutes until firm in the center. Allow cupcakes to cool in the pan for 10 minutes then transfer to a cooling rack to finish cooling.
  5. Filling: Powder the erythritol and xylitol in a blender; place into a small bowl. Add the butter and palm shortening. Using an electric mixer, beat together until light and fluffy. Add the coconut milk, vanilla, salt and essential oil blending until fully incorporated.
  6. Place filling in a piping bag fitted with a tip that is about 3mm wide at the tip (use a 5mm wide tip for regular sized cupcakes, it will make 12 regular cupcakes). Poke tip into the top center of the cupcake and push it about ½-inch down. Pipe filling into cooled cupcakes until it becomes difficult to pipe or the cupcake begins to puff or crack at the top. Repeat for all cupcakes.
  7. Frosting: Melt the chocolate in a microwave safe bowl at 30 second intervals; stirring in between until melted; set aside. Powder the erythritol and xylitol in a blender; set aside. In a small bowl, beat the softened butter and powdered sweeteners with an electric mixer until smooth. Add the cocoa power, beat another minute then add the cinnamon, vanilla and salt. Add the melted chocolate beating until smooth, thick and fluffy. If the frosting is too warm place it into the freezer for a minute or so and then whip until thick.
  8. Fill a piping bag with the frosting and frost the cupcakes. Cupcakes can be stored in the refrigerator for up to one week in an air tight container. Serve at room temperature. Makes 36 mini cupcakes or 12 regular sized cupcakes.
Notes
Net Carbs : 0.8g
SugarOH : 6.6g
 

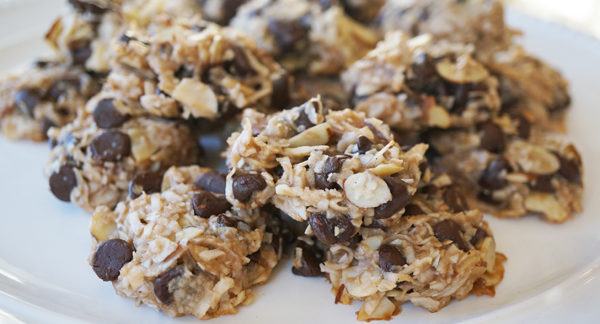
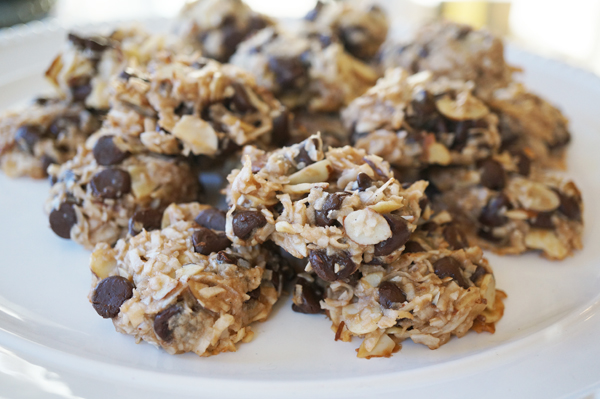
Almond Joy Cookies

Almond Joy Cookies
 
Author: 
Nutrition Information
  • Serves: 24
  • Serving size: 1
  • Calories: 125
  • Fat: 10.2g
  • Carbohydrates: 5.2g
  • Fiber: 3.1g
  • Protein: 1.8g
Ingredients
  • 1 cup sweetened condensed coconut milk
  • 1 egg white
  • 1 tsp vanilla
  • ½ tsp almond extract
  • ¼ tsp salt
  • 1 ½ cups unsweetened shredded coconut
  • 1 cup sugar-free chocolate chips
  • ½ cup sliced almonds
Instructions
  1. Preheat oven to 325°F. Prepare a baking sheet with parchment paper or a silicon mat.
  2. Make the sweetened condensed coconut milk and allow to cool to almost room temperature.
  3. Whisk together the cooled coconut milk, egg white, vanilla, almond extract, and salt. Stir in the shredded coconut, chocolate chips and sliced almonds.
  4. Using a 1 ½ tbsp scoop place mounds of dough onto the prepared sheet pan about 1 inch apart. Using damp fingers press the dough down slightly then bake for 15 minutes until just starting to brown on the edges.
  5. Remove from the oven and allow to cool. The cookies will be fragile when still hot but will firm up during cooling. Store tightly covered in the refrigerator for up to three weeks. May also be frozen for up to 3 months. These cookies are best at room temperature and even better if microwaved for 10 seconds to warm up if storing in the refrigerator. Makes 24 cookies. Each serving is one cookie.
Notes
Net Carbs: 2.1
SugarOH: 6.2
 

Coconut Yogurt

Coconut Yogurt
 
Author: 
Nutrition Information
  • Serves: 8
  • Serving size: ½ cup
  • Calories: 228
  • Fat: 19.5g
  • Carbohydrates: 3.5g
  • Fiber: 0g
  • Protein: 11.4g
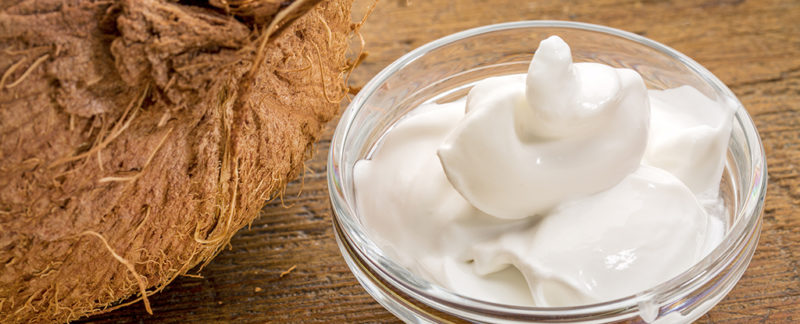
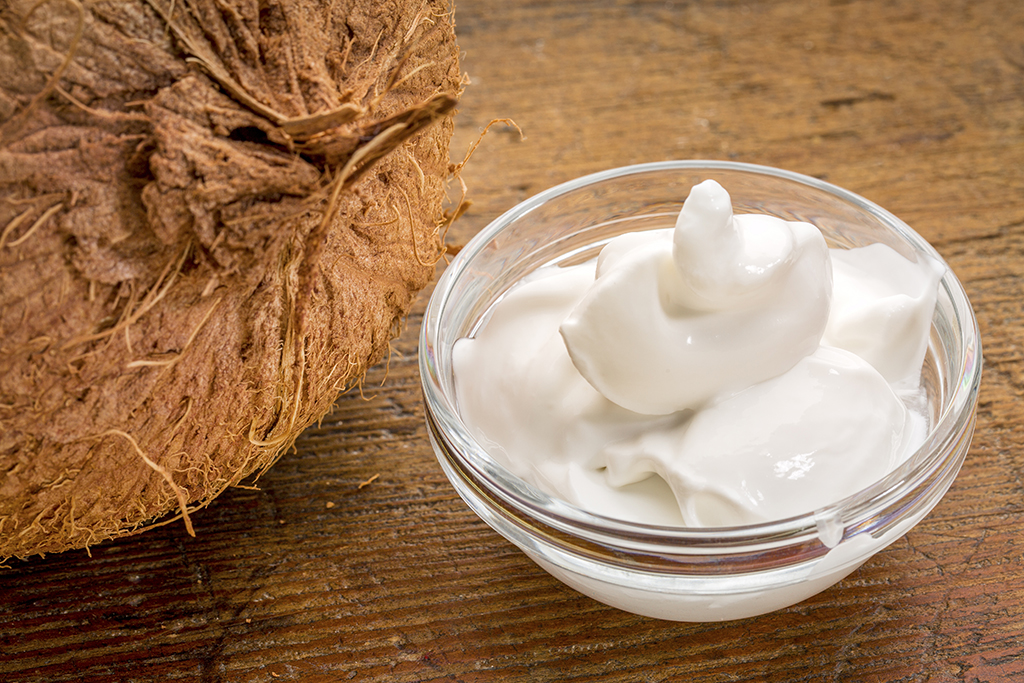
Coconut yogurt is a delicious alternative to dairy yogurt is easy to prepare and preservative free!

Try mixing in a tablespoon of the low carb Blueberry Refrigerator Jam or for something a little spicy the Blackberry Jalapeno Refrigerator Jam. Make a parfait by layering with fresh fruit and Coconut Granola.
Ingredients
  • 2 x 13.5 oz cans unsweetened coconut milk or coconut cream
  • 1 tbsp unsweetened dry gelatin
  • 1 tsp sugar
  • 1 probiotic cap, non-dairy starter culture or previously made coconut yogurt (1/4 cup)
  • 3 oz unsweetened protein powder (whey or pea protein)
Instructions
  1. Bloom gelatin in ½ cup coconut milk (room temperature) by sprinkling it over the milk and allowing it to sit for 5-10 minutes then stir to distribute gelatin.
  2. Heat remaining coconut milk and sugar (don’t worry, it will be consumed by the probiotics) in a sauce pan to 150°F. Whisk in bloomed gelatin and allow mixture to cool to 110°F. Whisk in starter and protein powder.
  3. Once temperature reads 110°F, pour into yogurt maker. Allow to process undisturbed for 12-24 hours. Refrigerate for up to one week. Makes 4 cups; ½ cup per serving.
Notes
Net Carbs : 3.5g
SugarOH: 0g

NOTE that you do not have to add the gelatin, sugar or protein powder. The gelatin is added to thicken it. The sugar will feed some of the bacteria as there isn't a lot of carbohydrates in the coconut milk but it really isn't necessary. The protein powder will thicken it slightly as well as provide additional protein to the yogurt so it is more like a Greek yogurt.